How To Refill ExcelMark Pre-Inked StampsUpdated 9 days ago
 Step 1: Remove Clear Cover and Index
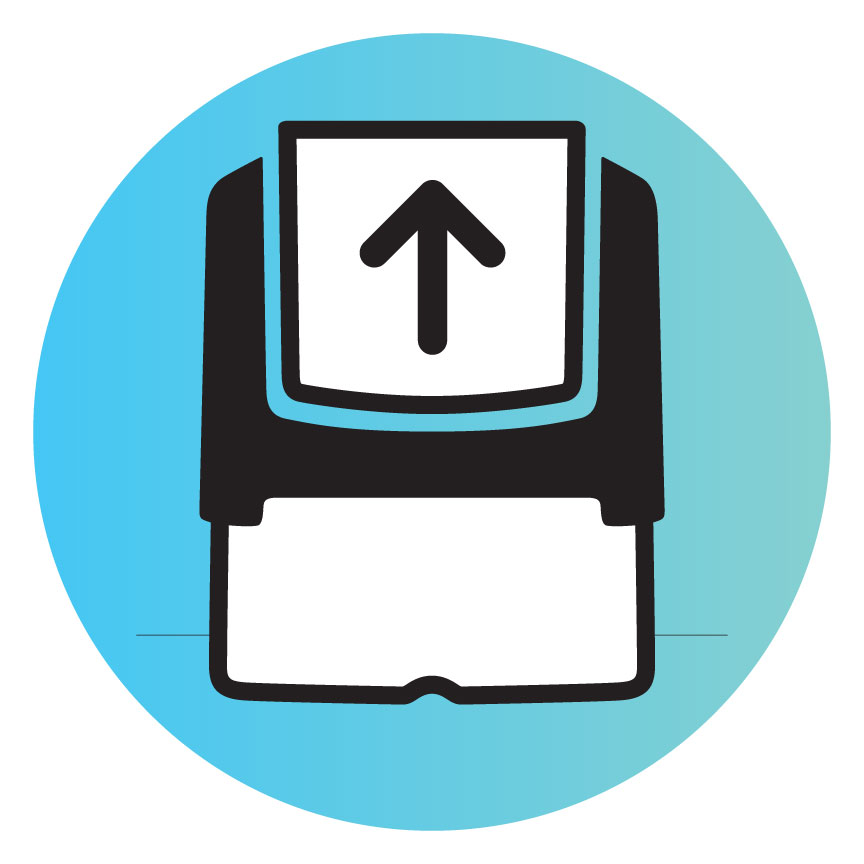
Lift up on the bottom front edge of the clear cover on both sides. Pull straight up toward the top of the stamp - not outward- to avoid cracking. Note how it's positioned so you can replace it the same way.
**If your stamp does not have a clear cover, commonly, the top of the stamp will pull off to reveal refill ink reservoirs.
_________________________________________
Step 2: Add Ink
While holding the pipette in an upright position, snip the tip with a scissors and add 4 drops to each hole, alternating until all ink is dispensed. Discard the pipette after use.
**Click to Find Refill Pipette Here.
_________________________________________
Step 3: Back in Place!
Carefully put the index and cover back in the same position you noted in step 1, ensuring everything is aligned correctly.
_________________________________________
Step 4: Let it Sit
Give the ink 15 minutes to settle and fully migrate into the stamp. This ensures even coverage and crisp impressions - then you're all set to start stamping!